


Prep
Cook
Serves
12 mins.
18 mins.
4
I grew up in the south and I spent many weekends with my grandparents. Breakfast on the weekends was a feast cooked by my granny and usually included homemade biscuits with assorted jellies.
Many people have tried and failed at making homemade biscuits. I think that baking good homemade biscuits boils down to the following things:
Before starting a batch of biscuits, check the date on the baking powder and baking soda that you have in the pantry and if it’s been open for months, it may be time for a new container before you attempt this recipe.
If you finish making the biscuits quickly and your oven is still preheating, or if this is your first attempt at making biscuits and it took you a while to get everything together, put the pan of uncooked biscuits into your freezer or refrigerator before baking. This ensures that the dough stays cool and that the biscuits will rise well.
Don’t twist as you cut out the biscuits or you will seal the edges and prevent them from rising. Push the cutter straight down and then pick it straight back up out of the dough. I cut my biscuits close together so that I won’t have lots of leftover scrap dough that needs to be refolded multiple times.
To avoid having any leftover dough cut the biscuits out into a square or rectangular shape using a knife or pizza cutter. They taste the same and there’s no need to refold scrap dough.
I’m from the school of placing the uncooked biscuits, sides touching, on a baking sheet. When I’ve tried baking them without the sides touching the biscuits usually slide to the side while baking because I fold lots of layers into the dough and they rise super high.
I start the biscuits out in the oven with their sides touching, but towards the end of baking I will separate the biscuits and place the pan back into the oven to finish baking. This ensures that there are no under-cooked doughy spots on the sides of the biscuits where they were touching one another.
If you live at a high altitude, then check out this high altitude biscuit recipe. The directions are the same, but you will use a little less baking powder and baking soda.
I prefer to use buttermilk for making biscuits, but if you can’t buy it where you live use lemon juice or white vinegar in your milk. I add 1 Tbsp. of lemon juice or white vinegar to my measuring cup and then pour my whole milk in to equal 1 cup of milk. Stir it up and let it sit for about 5 minutes while you measure and mix out the dry ingredients and cut the butter into the dough.
Buttermilk is thick, so when I use it, I need to use a cup of buttermilk; whereas when using milk, which is thinner, I usually use about 3/4 of a cup.
I turn my biscuit dough out onto a sheet of waxed paper that has lots of flour sprinkled across the surface. This means easy cleanup once my biscuits are baking in the oven. I also use the same method for rolling out my dumplings in this Chicken and Dumplings recipe.
I hope that you’ll give this recipe and these hints a try even if you’ve used similar recipes in the past. Maybe the helpful hints above will help you to have a successful baking experience. For daily updates follow @lifeabovethecafe on Instagram, Facebook, and Pinterest using the social media icons found on this page.
Preheat your oven to 450 degrees Fahrenheit. Line a baking sheet with parchment paper or a sheet of aluminum foil. If using aluminum foil I butter the area where the biscuits will lay to help them to crisp up and avoid sticking. Just run a stick of butter lightly over the foil to leave a thin layer of butter.
In a measuring cup add 1 Tbsp. of white vinegar or lemon juice and then pour in enough whole milk to equal 1 cup of milk. I usually need less than 1 cup of regular milk after mixing but I make the full cup. If you are using buttermilk, pour one cup of buttermilk into your measuring cup and no vinegar or lemon juice since it’s already tangy.
Stir your flour up well to lighten it before measuring it out. In a mixing bowl add 2 cups of All Purpose flour, 1 tsp. of salt, 1/2 tsp. of baking soda, 1 Tbsp. of baking powder, and 1 tsp. of sugar and stir everything together really well to evenly incorporate all of the ingredients in with the flour. Next, using a knife and fork (or a pastry cutter), cut the butter into the flour mixture. It should be cut into pea sized or smaller pieces. Sometimes I grate my very cold butter on a box grater and a food processor works well for this step too. If using a food processor, add the dry ingredients, mix, and then pulse in the butter until it’s cut into small pieces.
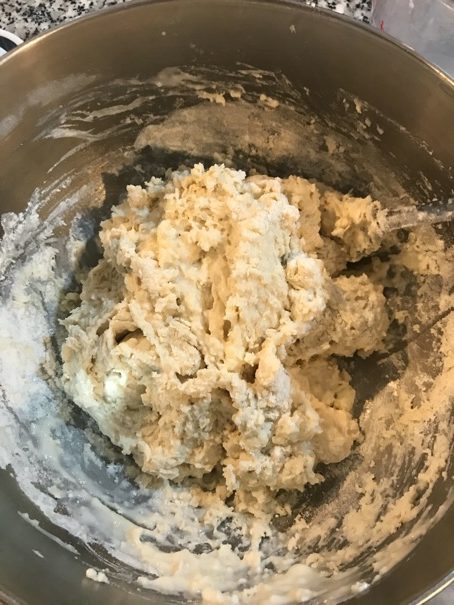
Now, a little at a time, start to add the milk into your dough and gently stir it in. Add more milk as needed until there is no dry flour in the bowl. Do not over stir or add too much milk. The dough should be “shaggy” which means damp but not too mushy (see photos below).
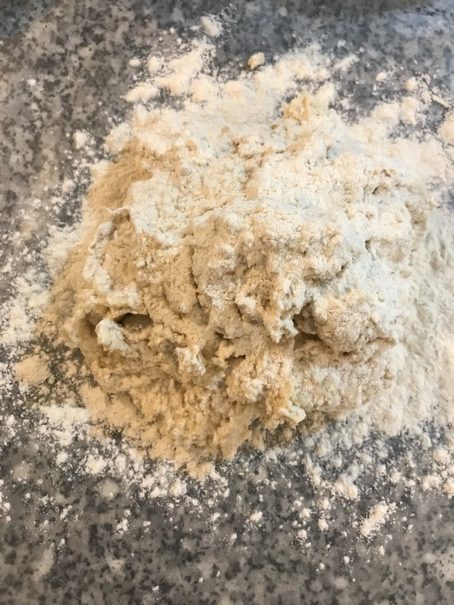
Flour a sheet of waxed paper and leave 1/4 – 1/2 of a cup of flour in your measuring cup to add to the dough as you complete the following steps (your hands will be a mess, but shouldn’t be damp. Don’t over flour the dough or the biscuits will be tough). Sprinkle flour across the top of the dough ball. Flour your hands a little and pat the dough out about a 1/2 inch thick (I measure from the tip of my finger to below my first knuckle). Shape doesn’t matter so don’t try to make it perfect as you pat the dough out.
Fold the dough in half and lightly pat it down, fold it in half again and lightly pat it down. This third fold will be the final fold. Fold the dough and then pat it down into a rectangle that is about 1/2 inch thick and then cut out your biscuits. Cut straight down and lift straight up without twisting so you don’t seal the dough which prevents it from rising as high.
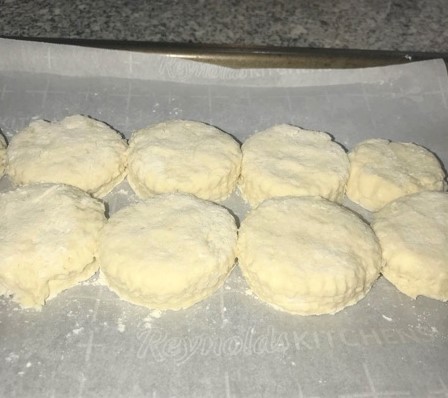
I use a round medium size cutter but I’ve also used heart shaped cookie cutters. The thicker you leave the dough the taller your finished product will be and the fewer biscuits you will have which is why I use smaller cutters. Place the biscuits in the middle of the pan in two columns with sides touching. (see photo below)
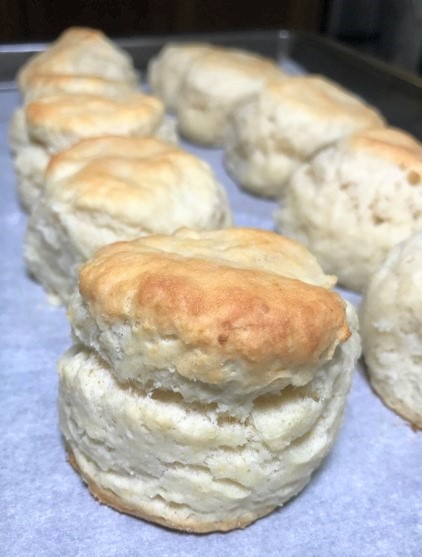
If your oven isn’t preheated place the pan of uncooked biscuits in your freezer or refrigerator. If it is, then slide the pan onto the middle oven rack and bake the biscuits for 10 minutes. Remove from the oven and separate the biscuits so the sides can cook. Return the pan to the oven and continue cooking until the tops are golden brown, about 5 more minutes.
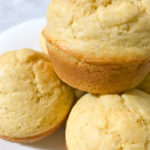
My oven is different than yours (and you may cut small or larger biscuits) so monitor your baking biscuits so that they don’t overcook. The biscuits in the photos below were finished cooking completely in 15 minutes. I buttered the tops by rubbing a stick of butter across them as soon as they came out of the oven. No need to melt the butter and dirty up another bowl or brush.
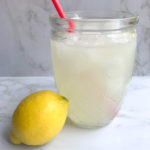
Serve these with more butter, jelly, honey, or even gravy. Leftovers can stay on the counter for a couple of days in a sealed container. I reheat them in the oven on a low temperature for the best taste.